

As promised here is the free DIY on this Cardigan-Blazer-Look-a-like. I hope you will all enjoy it. To all the danes, I didn’t have too much time therefore this DIY is only in english so hopefully everybody can follow. And since English is not my first language you must bear with me.
OK lets go!! First you need a long sleeved t-shirt pattern, and to get the blazer look it needs to be one with regular sleves. I have used one of my own, this one has a bit extra length because I like that long cardigan look. Now it´s time to modify our pattern :)

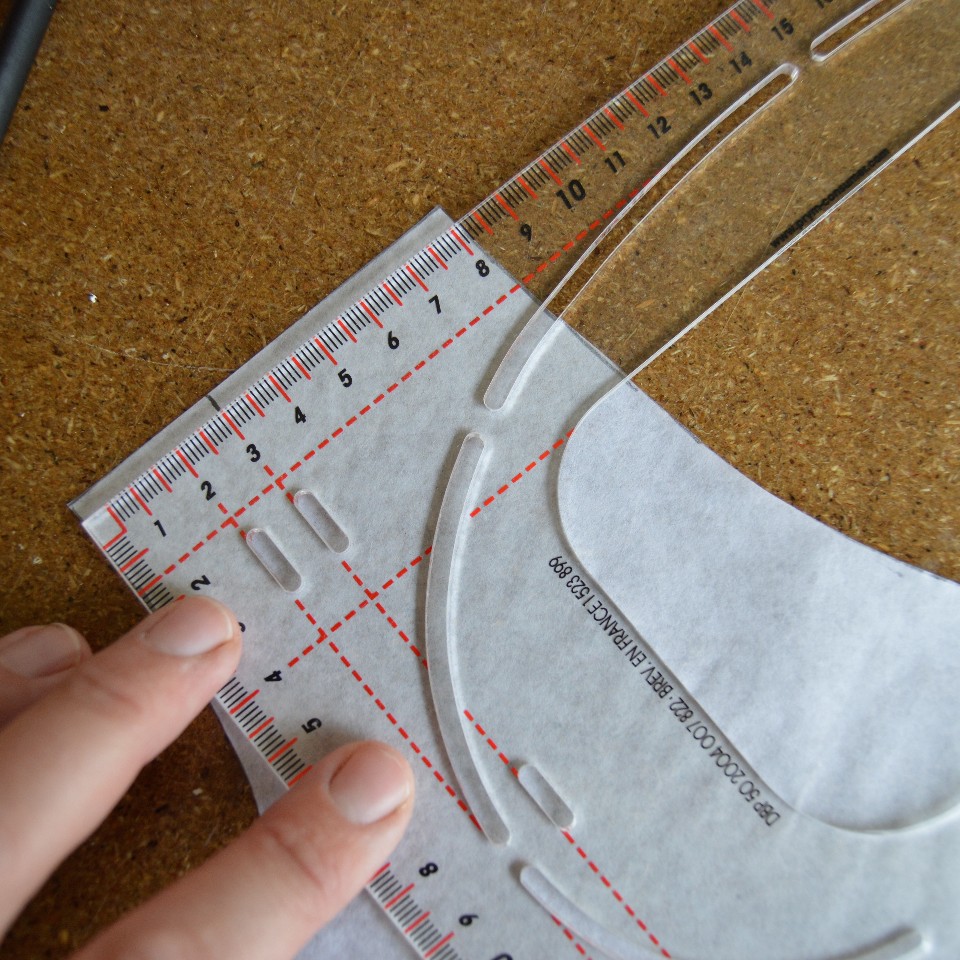
First we will be modifying the front piece. I like the cardigan to be quite open so I’m going to take off 3 cm of the neckline. Make a mark as shown in the picture below. Make sure that you take of 3 cm in the neckline and NOT in the sleeve.
Then we will take off 3 cm of the middle edge, (again not the side with the sleeve hole) now draw a line from our shoulder 3 cm mark down to the middle of the middle line.


Then we will be taking off 3 cm in the waistline of the pattern.

And then cut of all our markings, and then the front piece is done.

Now to the backpiece. Again take of 3 cm in the neckline, but this time 3 cm all the way as shown in the picture. And then take off 3 cm in the waistline.

The sleeve does not need to much modification, just take off 4 cm at the bottom of the sleeve.

Now you need to make some cuffs. Fold your sleeve in the middle so you can see how wide it should be.

My sleeve is 10 cm wide as you can see and since i want my final sleeve to be 5 cm I need to draw a square that is 10*10 cm. Then find the middle and draw a line.

Yet again make a mark, this time on the middle line 1 cm in.

Finally you draw from the middle mark to each corner. and cut it out.

Fold your fabric and cut out all the pattern pieces with 1/2 cm seam allowance. 2 front pieces, 2 cuffs against fold, 2 sleeves, 1 back piece against fold.
Now it is time to sew. Sew all the pieces where I have drawn black lines. Shoulder seem, side seem, sleeves and cuffs.


Turn the sleeves so the right side is out and fasten them in the sleeve hole with pins so the seem in the sleeve and the side seem match and sew.

Fold the cuffs in the middle so the right side is out and put them inside the sleeves again so the sleeve seem and the cuff seem match. And sew.


When the cuffs are in, iron the whole thing. Then you need to measure from one shoulder seem all the way around, as my arrows show on the picture, (I know they are not straigt but you hopefully get what I mean)

My cardigan is 160 cm all the way around, so half of this is 80 cm. If you don´t have enough fabric to cut a piece to fold that is 80 cm, then do as I did an make two identical pieces that i my case are 4 cm long and 8 cm wide. Cut the piece with 1/2 cm seam allowance. And then unfold it and sew the ends together so you have a circle.

Find the middle of the waistline on the back piece and the neckline.

Add our circle so that the one seam is in the middle of the neckline and the other in the middle of the waistline. Then pin all the way around. It is very important that it´s a perfect match so that the fabric does not stretch. Now sew it on.

Once again its time for the iron, wich is always your best friend when sewing in stretch fabric.
First you iron the seam, and then fold the collar and iron it and then pin with needles.


Then you sew down the collar along the fold. Iron again and then you are DONE.

I also sew around the cuffs, it looks more profetionel I think :)

And here a couple of pictures of my not very happy 5 year old, I made her a infinity scarf as well because this summer in Denmark is really really cold.


NOW it is time for the fabric. Cut 2 front pieces, 1 backpiece against fold. 2 cuffs against fold an two sleeves.
Now its time to the sewing part. Sew the shoulder seems, side seems, the sleeves and the cuffs. follow the black lines as I have drawn them on the picture, or you now sew straight ;)
Cute cardi! And such a cute kid (happy or not :) )! thanks for the DIY!
SvarSletThank you so much 😃 I'm very happy you like the DIY 😃
SletVirkelig fin cardi-blazer. Den skal jeg så meget afprøve. Tak for en super DIY!!!
SvarSletVh Jonna
Selv tak 😃 og tusind tak for de pæne ord!
SletTak for en god DIY. Den må prøves. Super fede farver og stof. Hvad farve er bukserne?
SvarSletVh Ann